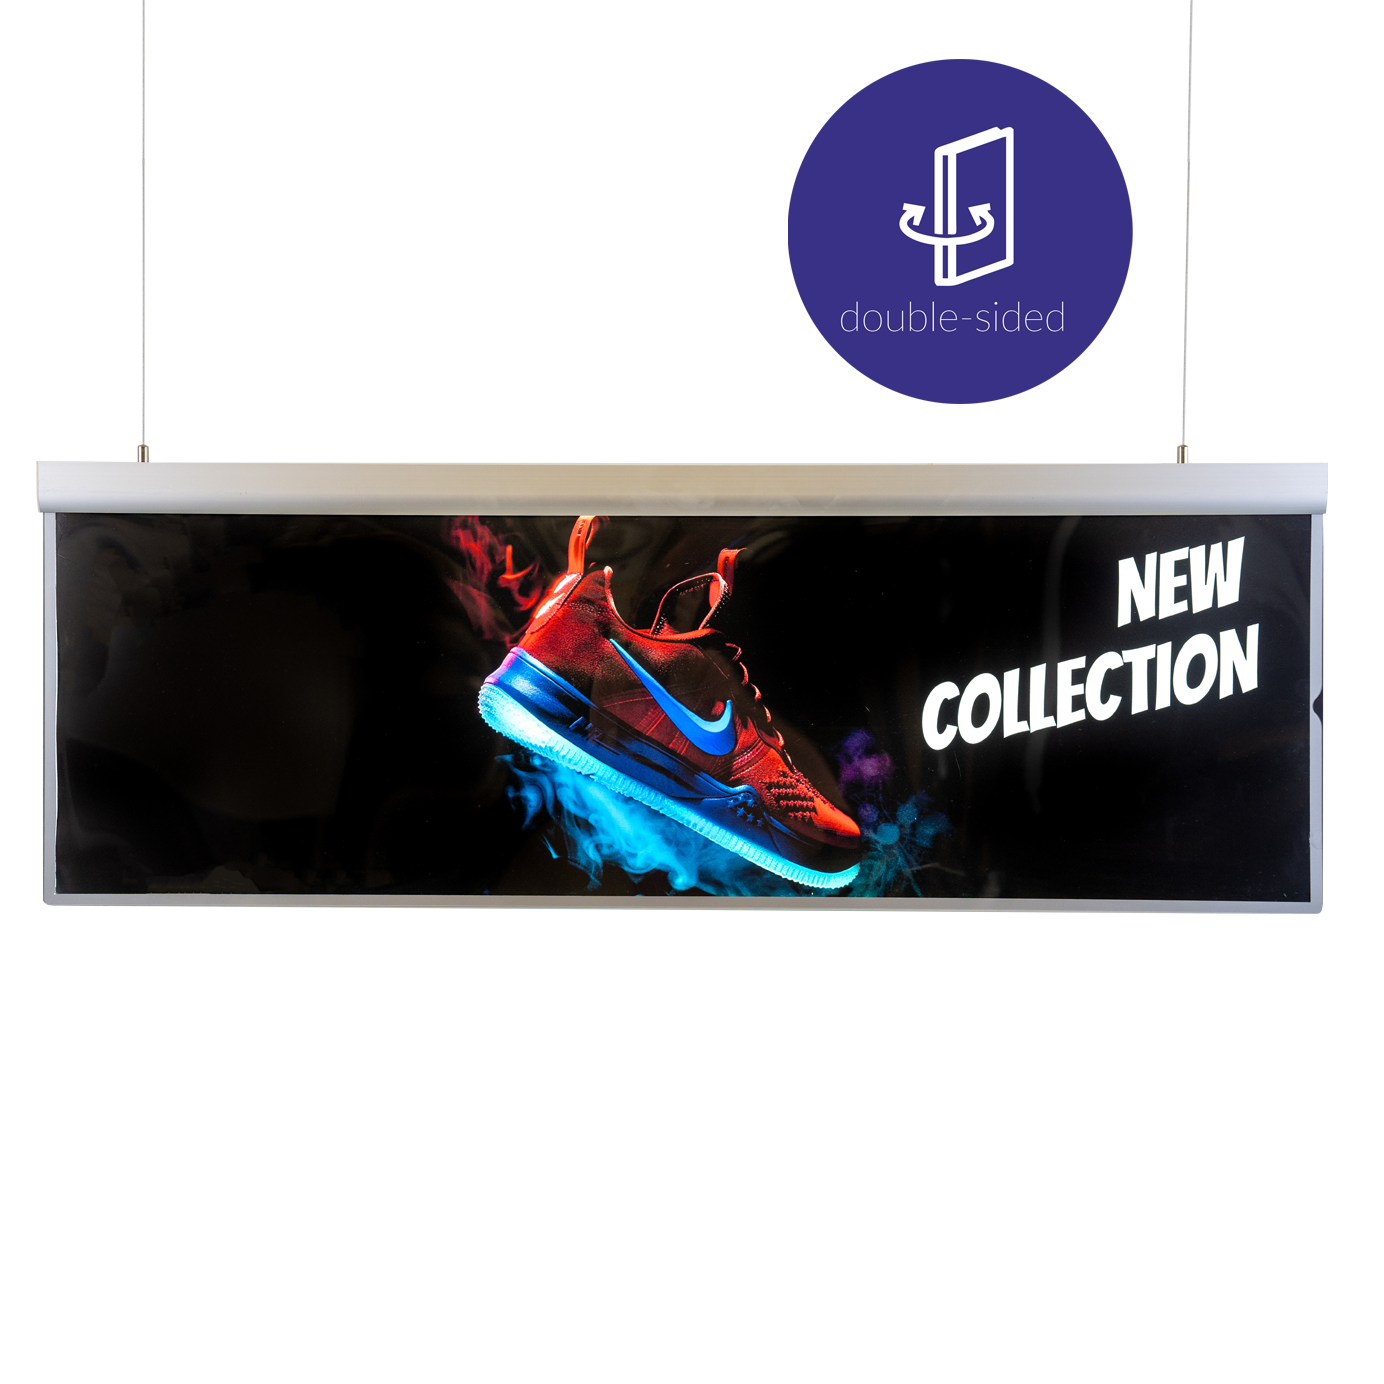
Professional display starts with proper installation. Here's how to get it right – no matter the location or format.
🔹 Introduction
An LED frame is ready to use right out of the box. But the way you install it matters – both for the visual effect and long-term durability. Whether you're mounting it on a wall, countertop, ceiling, or at a trade show – this step-by-step guide shows you how to do it right and hassle-free.
🛠️ 1. Choose the location and display method
Start by deciding how you want to display your frame:
- Wall-mounted – for classic informational and promotional displays
- Freestanding – using screw-in feet or a display stand
- Ceiling-hung – for double-sided displays (like a TV screen)
- On a counter/table – ideal for restaurants, receptions, or trade shows
📦 2. Unbox the set – what’s included?
Every ledmesee frame includes:
- LED frame (single- or double-sided)
- 12V or 24V power adapter with cable
- Mounting system (e.g., wall brackets, steel wires, or feet)
- User manual
You can also purchase USB power bank adapter, power extension cables, stands, or backlite print if needed.
🔩 3. Wall mounting – step by step
- Mark the drill points (based on the included mounting brackets).
- Drill holes and insert wall plugs.
- Mount the brackets and hang the frame.
- Connect the power supply and hide the cable neatly.
- Slide the graphic in from the side (tool-free sliding system).
✅ Tip: You can mount frames vertically or horizontally – depending on your graphic format.
🪝 4. Ceiling mounting – for double-sided displays
- Install the steel wires with ceiling hooks (included).
- Insert wires into the designated slots in the frame.
- Adjust the height and level the frame.
- Connect the power – the adapter is often integrated into the frame, so you just need to route the cable.
This setup is perfect for clothing stores, galleries, showrooms, or fast-food locations.
🧍 5. Freestanding setup (tables, counters, desks)
For A5, A4, and A3 frames, use:
- Mounting feet (screw-in) – to set the frame at an angle
- Display stand – for larger sizes (e.g. A2, A1), allowi


